As a newbie to film photography this year (please see the first blog I wrote for more information on this), I’ve only recently discovered the Lomography company and the ‘toy camera’s’ they do so have been buying and trying them as you can pick some of them up quite cheaply (either never used or hardly used second hand).
I had seen photos on Flickr and Instagram that had sprocket holes on them which I think looked really cool. I knew that some of the sprocket hole effects were achieved by just scanning the whole negative but I was fascinated by how some of them had the whole picture over the sprocket hole.
Once I had discovered the Lomography company I found that they produced a camera called the Sprocket Rocket Panorama Camera which has been specially developed to take pictures with the sprocket holes on them.
As with most of the Lomography camera’s they are very lightweight because they are made out of plastic.
It has a 30mm lens and produces a standard image size of 72 x 33mm (panoramic images including sprocket holes). There is an optional frame insert that can be put into the camera that produce 72 x 24mm (”ordinary” panoramic images) but personally I think that defeats the whole object of this camera as I would want the sprocket holes to be shown.
The focusing on the camera is 0.6m to infinity which you focus on front of the lens by estimating how far you are standing away from the image you want to take since the viewfinder isn’t linked to the lens. There are 2 x shutter speeds (1/100, Bulb). There are 2 x aperture options (f/10.8, f/16). It takes 35mm film and is best suited to an ISO speed of 400. Another feature that I really love about the camera is that it has a white dot film stopping mechanism to enable you to take multiple exposures.
I initially was hoping to find a second hand one of these cameras as they retail at £69 for the black one and £79 if you wanted a different colour one. Thankfully I actually prefer the black colour.
Whilst looking for a second hand one, I found that not many of them seem to come up for sale like some of the other Lomography cameras and when I recently found a second hand used one for sale without its original box or instruction pamphlets, it ended up selling on eBay in a bid only auction for over £50 (not including postage). I decided at that point that I’d sooner just pay the full retail price and buy a brand new one directly from the Lomography shop.
Thankfully at the time on deciding this I was actually going to London for the day for a Lomography workshop (blog to follow about this) so I was able to find some time to pop into the Lomography shop in Soho and buy one.
I was also lucky enough to buy the last few rolls the shop had of the LomoChrome Purple film as I wanted to see how this would look on the camera.
Once I took a closer look at the camera when I got it home, I discovered that it’s design was based on the vintage Dick Tracy Camera of the Seymore Products Co in Chicago circa 1947 combined with Lomography’s own design.
I loved how simple it was to load the 35mm film and the fact that it really does encourage multiple exposures as it has a simple operating system of 2 x winding knobs at each end of the camera at the top for moving the film forward and backwards. The white dot stopping mechanism window at the top of the camera enables you to see if you’ve wound on the film to the right spot so multiple exposures match on the same frame.
This camera also does the opposite of the half frame camera in the fact that if you have a 36 exposure 35mm film, you will only get 18 super-wide angle shots on this camera so this means in the long run you would use a lot more film.
On the bottom of the camera is a tripod strap screw which can be removed to enable you to place the camera on a tripod to take long exposed shots in bulb mode.
The shutter button is actually on the side of the lens rather than on the top of the camera and you have to be careful when the camera is in your bag etc not to accidentally knock the shutter button as you could take an unwanted photo!
There is a plastic lens cap included with this camera which you have to remember to move because the viewfinder is not linked to the lens so you could end up happily snapping away and find all your pictures come out black.
The aperture lever is underneath the lens and you can move it to the ‘sunny’ (f/16) or ‘cloudy’ (f/10.8) option.
My first impression of this camera is that it felt cheap and plastic and I wondered how the price could be justified for something that quite frankly didn’t feel like it had any quality to it. I also worried about it melting if I had it out on a hot sunny day!
However, from my research, I couldn’t find any quality vintage camera that could produce the same effect with the sprocket holes so I had to accept the price for what it was if I wanted to produce that type of photograph.
I’ll be completely honest, since I’ve been quite spoilt with my decent quality camera collection where I have the choice of interchangeable lenses and hard metal casing with a variety of apertures and shutter speeds to choose from, I wasn’t expecting a great deal from the camera and in some ways was ‘dreading’ if I had completely wasted my money on this purchase and the photos would be rubbish as I wouldn’t be able to focus the picture how I wanted etc.
I know with lomography cameras that the photo’s aren’t about perfection as quite frankly you wouldn’t be using them if that’s the style of photo what you wanted.
I decided that for my first roll of film I shot, I would get it developed at the Lomography lab (which was around £17 for development and scanned copies only plus postage of the film recorded delivery to Lomography in London).
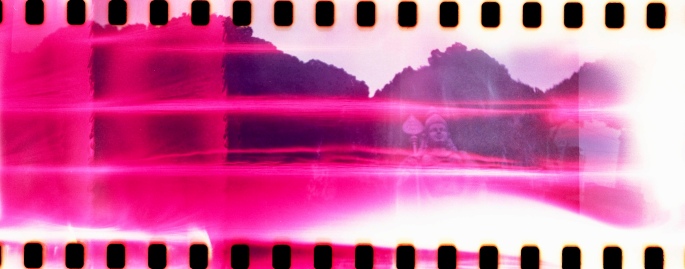
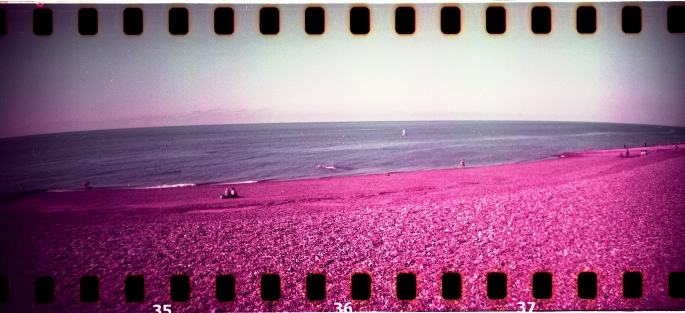
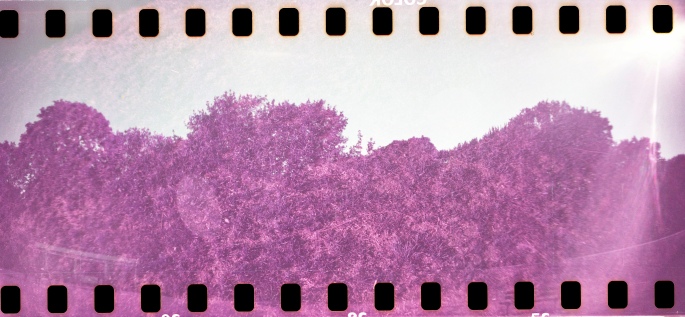
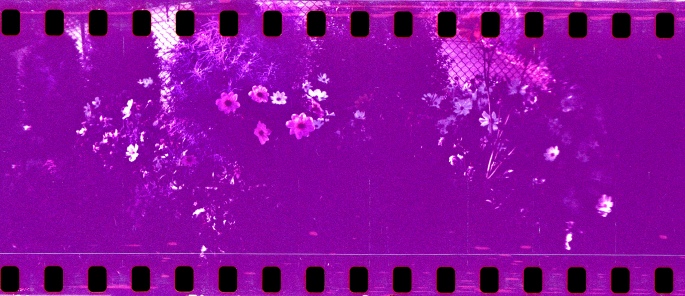
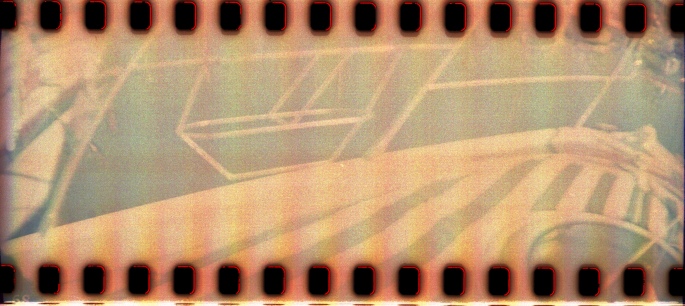
Here are some of the results:


I also decided to experiment with the multiple exposure option on this camera because it was so easy to do and here are the results:


One particular shot I wasn’t happy with was where the sprocket holes go directly across the top of my husband’s head which I didn’t like so I now know for future reference I will need to bear this in mind when taking photographs and change the angle of the shot slightly to take this into consideration:

Overall, I was really happy with the results. I managed to produce images with this camera that I wanted to achieve and I love the colour the purple chrome film produces. I definitely love the artistic/experimental photos I can create by using this camera.
The main drawback is the cost of getting the photos developed every time which could end up being very expensive due to only having the 18 shots on the film and you would question how regularly you could afford to use it.
However, because I’m taking so many photos with different cameras right now, I’ve been able to justify purchasing my own film scanner (which I’m currently awaiting delivery of) so in the long run I will save money. Plus I get to have more control of the quality/colour/shade etc of the image that I’m scanning from the negative.
I’ve since taken some normal colour photos with this camera which I got developed at my local photo lab for £5 (and will be scanning them in myself once I receive my scanner).
In view of this, I will definitely be taking a lot more pictures using this camera and feel that the purchase for me and the use I will get out of the camera is worth every penny.
I’m going to be loading this camera with 400 ISO black and white film next as I’m really interested to see how the sprocket hole effect will look in monochrome.
UPDATE: I’ve since discovered that this camera has now sold out on the Lomography website (and they only had a couple in the shop when I bought mine) so I’m really happy I managed to get one when I did. Fingers crossed for anybody else out there looking to buy one that Lomography will hopefully get new stock of it soon.